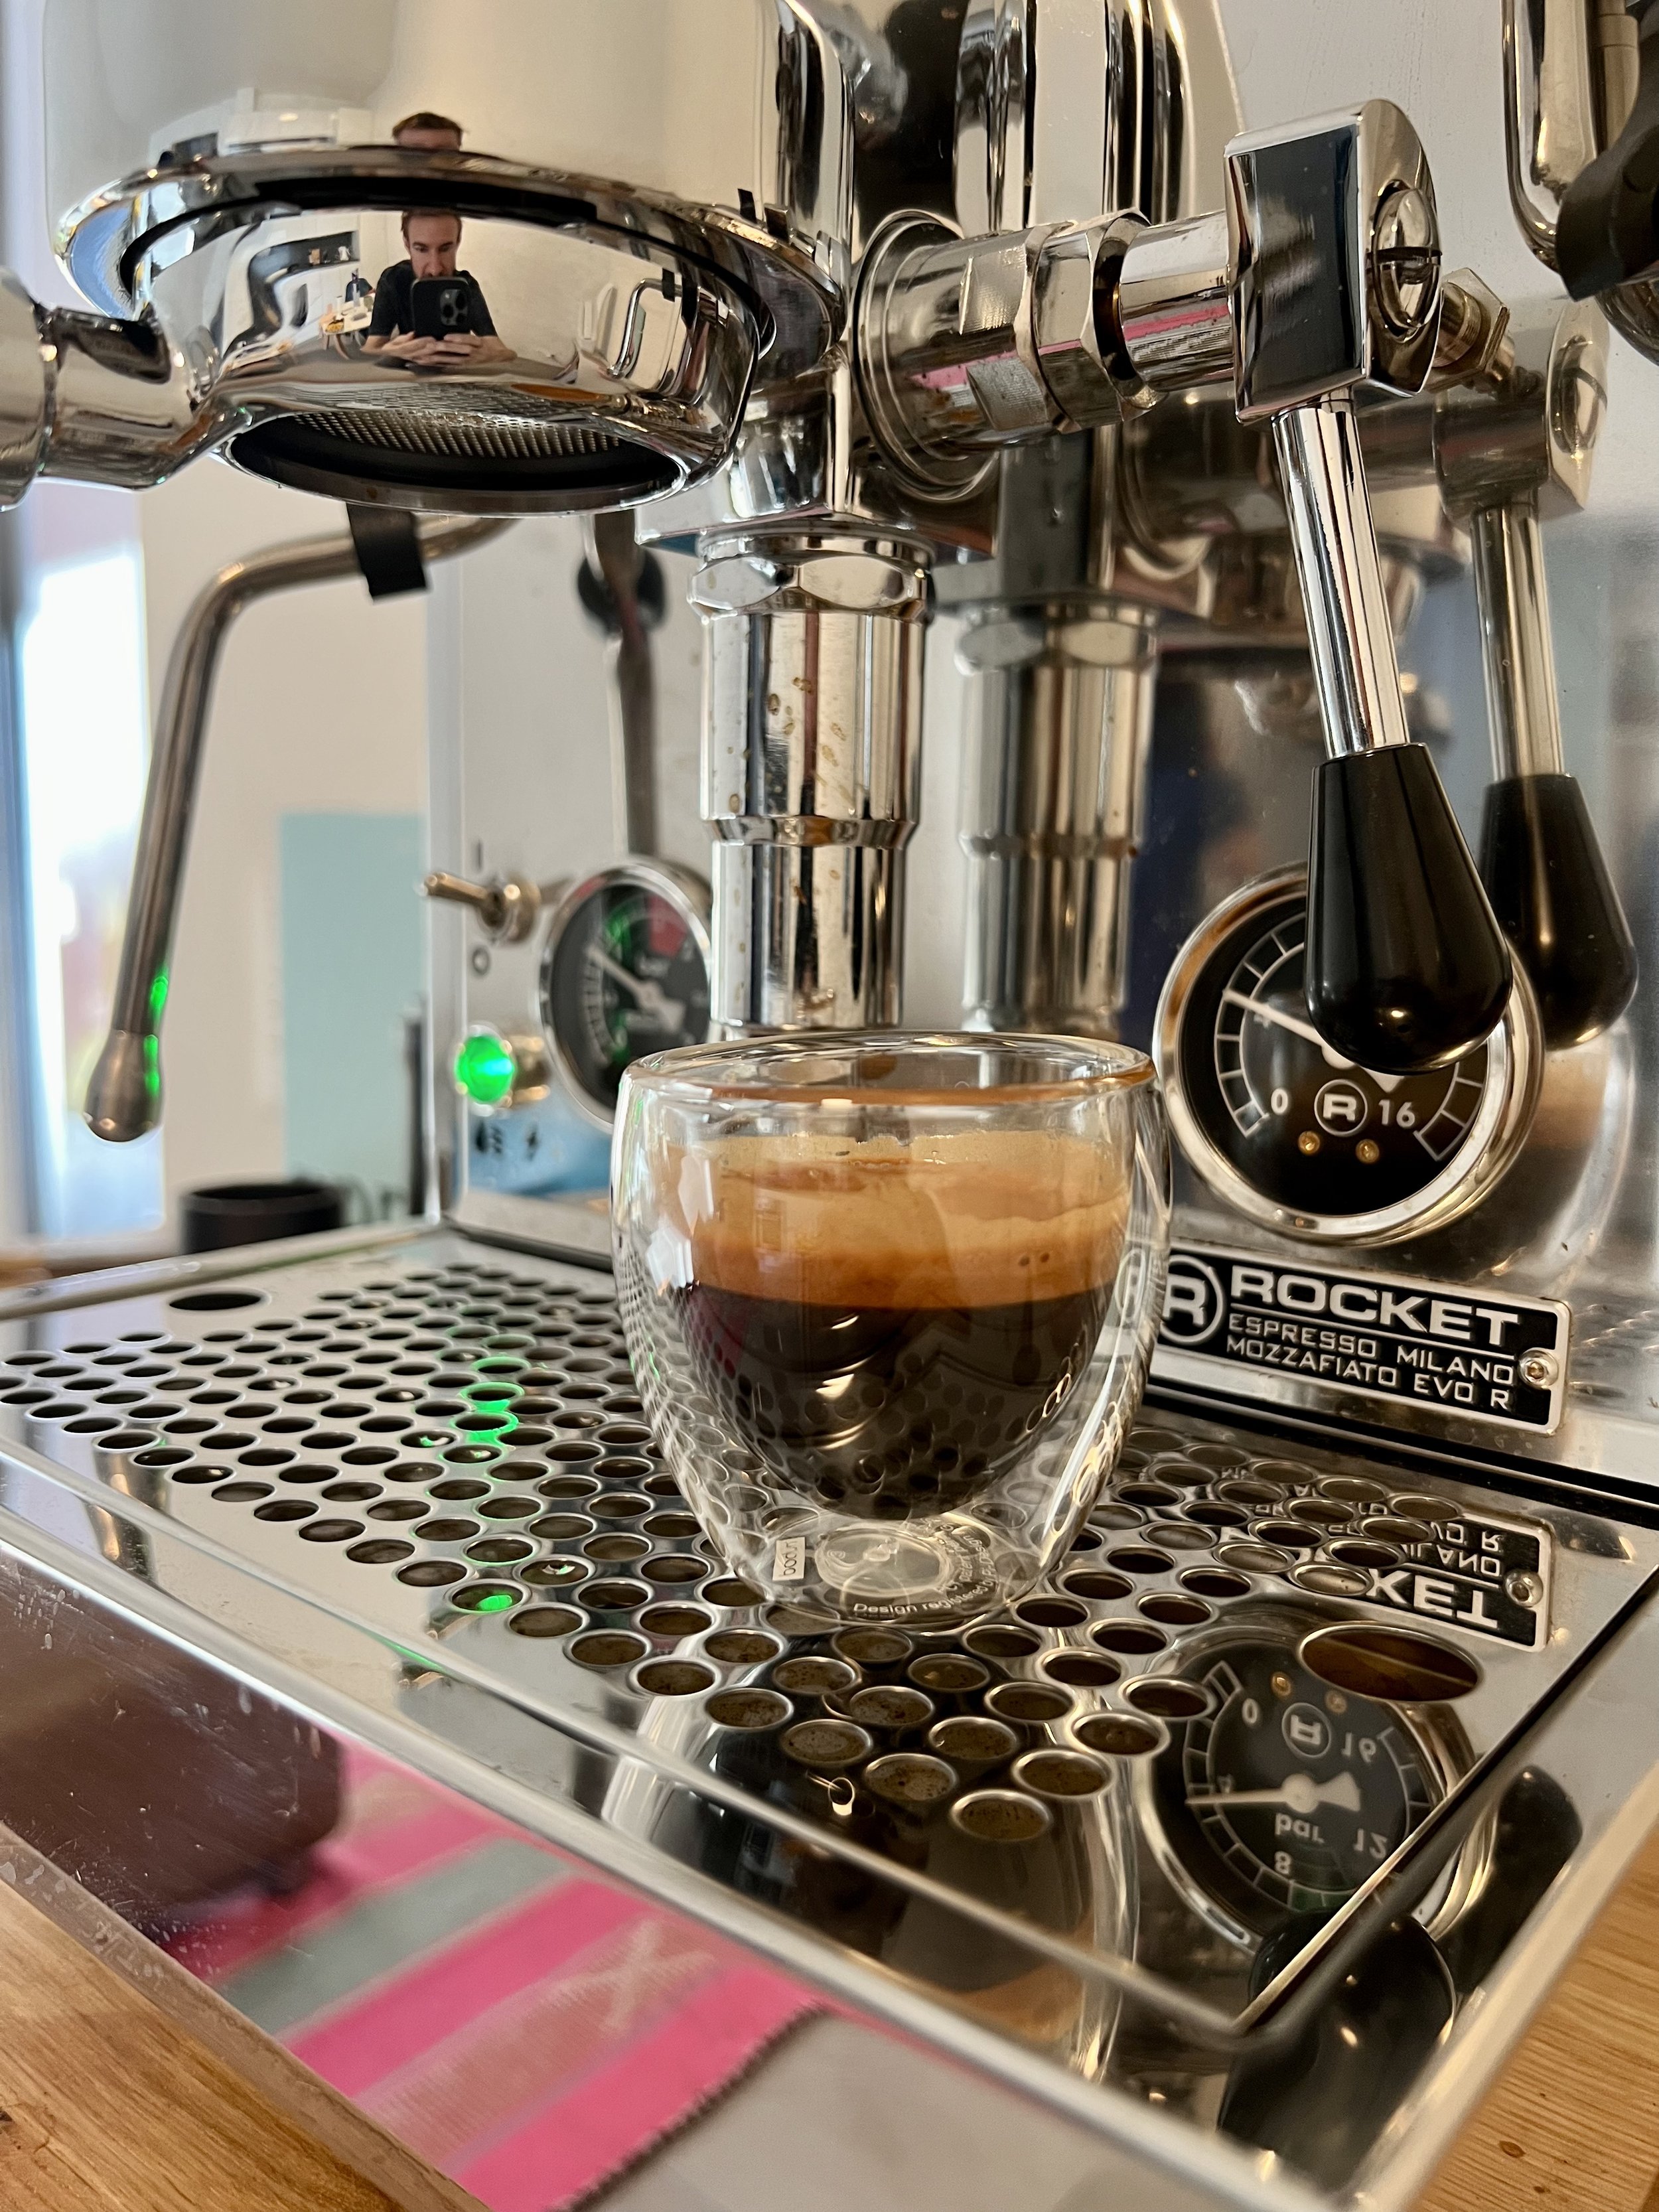
Understanding espresso extraction variables
Espresso is a complex beverage to prepare and steering around all the variables affecting extraction can be daunting if you first stand before your new setup and wonder where to begin. But don’t worry, in this basic overview of extraction variables - specifically directed towards the home user and most home espresso machines - we will give you a firm grasp on how to navigate them to get the most our of your specialty coffee beans.
The best approach for every beginner that is starting out as home barista, or when getting to know a new espresso machine, or dialing in a new coffee bean, is to lock in as many variables as possible, thus focusing on only one: grind size. We’ll keep that variable for last and start with how to lock in the rest so that they play their role within your individual setup and coffee preferences.
The traditional espresso recipe
First, let’s take a quick look into what we need to aim for! Before even thinking of manipulating our extraction variables, we need to get a basic understanding of the framework we need to follow to pull a decent shot of espresso. The most basic and traditional recipe for a double shot of espresso - that can be applied to most specialty grade beans and home machines - reads as follows:
16-18 grams of coffee to 32-36 grams of espresso in the cup, or a 1:2 ratio
Water temperature of 92-93°C (for our medium roasted specialty grade arabica)
Constant 9 bar of pressure
In around 25-30 seconds.
Roast level
Obviously coffee beans are the first thing you’ll need to pull a shot of espresso. But how will they behave during extraction? Usually, the darker the roast of those beans, the more soluble they are and the faster they will extract. This also means that it quickly gets bitter, so definitively stay on the 25 seconds (or lower) side of the ideal extraction time window. On the contrary, the lighter (and thus denser) the beans, the slower they will release their flavor compounds into your cup and the more you’ll need to push the other variables to extract a balanced cup of coffee.
Water
Water is the second very important and often overlooked ingredient for a top notch coffee. It’s not really a variable like the following, but you’ll need to make sure that you use proper water. Water affects both the taste of your cup as well as the health of the inside parts of your espresso machine. The good news? It solves both issues at the same time and once you resolve it you’re good to go!
Your water needs some level of mineralization otherwise it won’t convey sweetness to your cup and it will corrode the insides of your espresso machine, but not too much minerals (cal) or it will quickly taste astringent and build up scale thus blocking the flow in your machine (and requiring often a costly, deep clean by your local dealer). In regions where your tap water is soft (like here in Ticino), you can use it straight from the tap. In other regions in Switzerland, filtering it through a Brita or BWT filter will do the trick!
A good indication are your pans or water boiling kettle: do you see white residue in them and you need to descale regularly? Then definitively filter your water before filling it in your espresso machine! It seems pretty obvious but don’t EVER use distilled water. If you’re insecure about the mineralization of your water, buy a TDS meter (you can find them for approx. 15 CHF) and measure your water’s ppm’s, it should read between 40 and 125 ppm.
Once defined our two ingredients, we can move on to the variables that will depend on your machine.
Pressure
In order to better understanding pressure in espresso - and there is a lot of confusion around it - we need to get a grasp on what’s happening inside the machine. When talking about pressure in espresso, we refer to the pressure at the group, more precisely between the shower screen and the surface of the coffee grounds inside your basket. Pressure is the resulting variable between the water flow hitting the coffee puck and the resistance of that puck.
Most espresso machine are set by the manufacturer at a pressure 9 bars at the group level through an OPV valve that releases any pressure above the set limit and maintaining it constant throughout the shot. Even cheaper appliances that mention 15 bars as a “selling point” actually have a lower pressure at group level, the 15 bars being related to the pump capacity, not the actual pressure the pump is able to effectively deliver onto the coffee puck surface. Since in most consumer focused machines you’re not able to modify pressure unless you change the spring inside the OPV valve or adjust it mechanically, pressure isn’t a variable for you to worry about.
In some modern machines (like the Profitec Go, Ascaso Steel PID or the ECM Puristika) you are able to easily adjust the pressure, usually in a range between 8-12 bars. In this case, the general rule states that the higher the pressure, the more you will extract. This only applies to a certain threshold, as research has found that above a pressure of approximatively 10,5 bars, extraction lowers again due to channeling issues within the coffee puck. How to adjust pressure on these machines or even on more advanced espresso machines that offer pressure or flow profiling will be a topic for another time as here we want to focus on the bare essentials. For now, stick to 9 bars to lock in this variable.
Brew Temperature
The higher the temperature, the more solubles will be extracted from the coffee grounds, the lower the temperature, the less. Generally speaking, the coffee you’re using, will dictate the temperature you set on your machine (in case you can change it). The good news? Based on the information you have of the coffee you’re using, you can set a pretty perfect starting temperature:
88-90°C: darker roasted robusta blends and lower elevation where the coffee was grown
90-91°C: darker roasted arabica beans from lower elevations
92-93°C: most medium roasted arabica beans grown at elevations between 1000 and 1800 masl
94-96°C: light to medium roasted specialty grade arabica beans grown at higher elevations of 1600-2500 masl
This is a set and forget variable while using a same bean. You’ll just need to ensure to keep it as steady as possible both from shot to shot as well as during the shot.
Dose
At the beginning we would advise to keep this variable locked in, depending on your machine, the diameter of your portafilter and the size of your basket. Even without changing the ratio of your espresso recipe, the bigger the dose of coffee, the more you will extract, the lower the dose, the less. In other words, a 16 grams of coffee grounds to 32 grams of liquid espresso recipe will yield lower extractions than a 18 to 36 recipe, both having the same 1:2 ratio.
Normally machines come with a single basket and a double basket, and some mass market machines will even come with pressurized baskets for pre ground coffee. You recognize these by holding them into thee light, if they only have 1 completely perforated hole, it’s a pressurized basket that artificially limits the flow, if you see that all the holes are punched through, then it’s a non pressurized basket. We would advise you to ONLY use your double non-pressurized basket for your espresso as this will be the easiest to manage and give you the best results in the cup.
Here is a list of doses we like to start with based on the following machines (and their common double sized basket):
Delonghi Dedica: 14 grams
Gaggia Classic: 16 grams
Sage Bambino: 18 grams
E61 group: 18 grams
Prosumer espresso machines: 20 grams
Time
Time is another variable with high effect over extraction. Put very simple, the longer the extraction takes, the more you will extract. The faster the extraction, the less you will extract. Neither too slow nor too fast is good for taste, you need to aim for the right time window, otherwise your cup will taste sour (underextracted, too fast) or astringent (over extracted, too long). To hit the literal SWEET spot, acidity and bitterness need to be balanced. As a general rule, for darker roasted coffees you might want to aim for a faster than 27 seconds shot and for medium to light roasted coffees for a longer shot than 27 seconds, even hitting 35 seconds should be no problem with those coffees.
There is an exception to time that is the so called TURBO SHOT, that we might talk about in another blog post, but isn’t very helpful to understanding the fundamentals. How is the saying? Only by knowing the rules will you be able to break them.
Tamping (& puck prep)
The force you exert compressing the coffee grounds while tamping is another variable that will affect the speed of your extraction. With some practice you will get pretty constant results, if two or more persons prepare the same coffee on the same machine, chances are high that tamping forces are different resulting in different outcomes. In this case, consider buying either a spring tamper (for example from Normcore) or a self leveling tamper (for example the Push tamper or some of its knockoffs). Tamping preferences are very subjective so there is not a solution that fits all.
But back to how it affects your extraction: the more pressure you put on your tamp, the more compacted your grounds and the slower the water will flow through them, lengthening your shot. Try to find a force in the middle that works for you repeatedly, neither press too hard nor too soft, instead focus on tamping level. We will dive deeper into proper tamping and puck prep at another time, for now remember to keep it as consistent as possible from shot to shot, otherwise you will get very random results, getting really frustrated while constantly needing to change grind size.
Pre Infusion
Pre infusion is a feature in which the pump trickles water with low pressure onto the coffee before the pump ramps up and starts the actual extraction. By doing so, it gently wets the coffee and helps reducing the risk of channeling. Some machines have the option to set pre-infusion time, and as this is another deep dive, we will keep it simple this time around. The basics: the longer the pre infusion, the more you extract. The length of the pre infusion usually depends from machine to machine and might vary from 3 to 10 seconds. If you have a preset pre infusion by the factory (for example the DeLonghi Dedica), leave it on as it will help with even extraction. If you are able to set the time, set it in the middle (i.e. 5 seconds) for most coffees and at the higher range (i.e. 10 seconds) if you have a preference for very light roasts. For absolute beginners, we would advise to turn it off at first and come back to it once your workflow is more fluid.
Grind size
Remember when we were talking about pressure as a resulting variable between flow and puck resistance? Grind size is how you steer that resistance! This is the one variable that has the biggest impact on extraction, the others will fine tune that result. In short, the coarser the grind, the faster your shot will flow and the less you will extract. The finer the grind, the slower the flow and the higher the extraction. Pretty easy right? For example, if your shot pulls in only 15 seconds, grind finer to push it towards the 25 seconds mark, if your shot takes 40 seconds, grind coarser to reduce it to a 30 seconds mark. With some practice using your grinder and machine combination, you will get a pretty good understanding on how much to change the dial on your grinder to reach the desired outcome.
Little tip to save you some time while dialing in: usually shots get faster the more your grouped and portafilter heat up. This means that if your first shot in the morning is slightly long, the second one will be already faster without changing any variable. So if the first shot pulls in 35 seconds, changes are good that the second one will be right in the sweet spot! On the contrary, if your shot is already too fast the first time - all other variables staying the same - it won’t get slower the second time around.
Thank you for sticking around until the end! If you got any value out of this post, consider bookmarking it to come back later as you learn more by doing. In a future post we will dive into workflow and dialing in your shots, but for now, this was a brief overview on your main extraction variables.
Should you have questions regarding your home barista journey, feel free to comment below, reach out to us or visit us in the roastery for a playhour! We’re always happy to share what we have learned in coffee so far.